GUSBAmp
This article describes the installation and usage of the gUSBamp EEG driver plugin for MNE Scan.
Building the gUSBamp EEG Plugin
In order to build the gUSBamp driver, at first, the header file gtec_gUSBamp.h and the two library files gUSBamp_x64.lib and gUSBamp_x86.lib from the gUSBamp SDK have to be included into the mne-cpp project. These files can be found in the device’s attached software library. They have to be copied to the gUSBamp driver repository which is to be found under:
\mne-cpp\applications\mne_scan\plugins\gusbamp
In a second step, the plugin’s source code has to be reintegrated into the mne-cpp project. Therefore, in the file :
\mne-cpp\applications\mne_scan\plugins\plugins.pro
the plugin’s project gusbamp has to be restored by deleting the # in front of the name in the Sensor section. After this is done, the MNE Scan project can be rebuilt.
Running the gUSBamp EEG Plugin
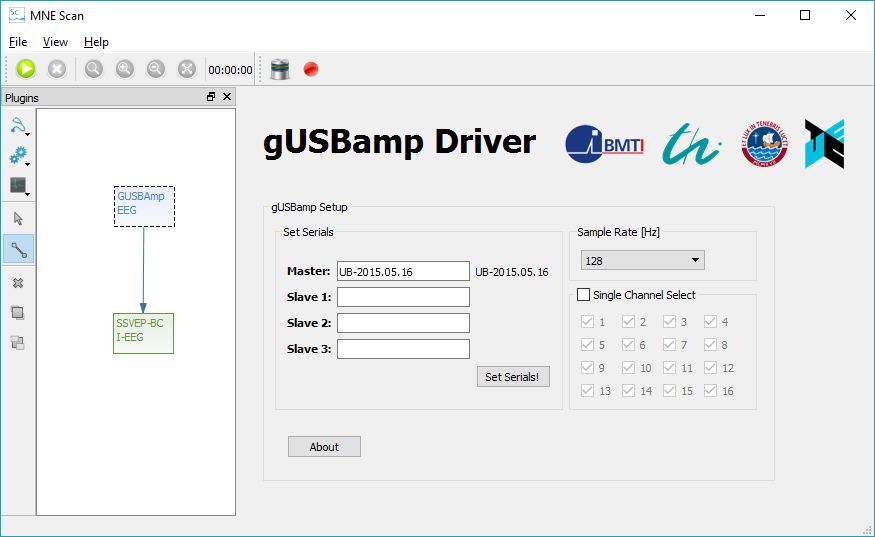
For running the gUSBamp EEG plugin, the according driver has to be installed to the operating system. The files can also be found on the device attached software, as well as a documentation which will guide the whole process. After that, the gUSBamp EEG plugin can be used in the MNE Scan environment, like shown in the following figure.

The connected devices and the sample frequency can be set via set serials and sample rate. Up to 3 more gUSBamp slaves can be connected to one gUSBamp master. Usually, all channels are selected by default. Under Single Channel Select, this can be changed by clicking on the desired selection. After the settings are done, the acquisition can be started with the green Run button.